No products in the basket.
Basic Assumptions – Must read
From start to finish, a guide on basics that must be covered when repairing and painting.
PPG Industries Automotive Refinish group makes these assumptions based on accepted industry practices,
our knowledge, past experience and feedback from our employees and customers. These assumptions are
intended to be used by collision repairers for reference and support documentation to promote a better
understanding of the refinishing process to their customers.

MAXMEYER Car Refinish Preparation for a Standard Bodyfiller Repair
Watch here for best practice preparation process for MaxMeyer
Plastic Repair – MaxMeyer
|
The MaxMeyer plastic repair system and tech tips on repairing plastics. Click the picture below to read the full article. |
|
|
|
|
|
|

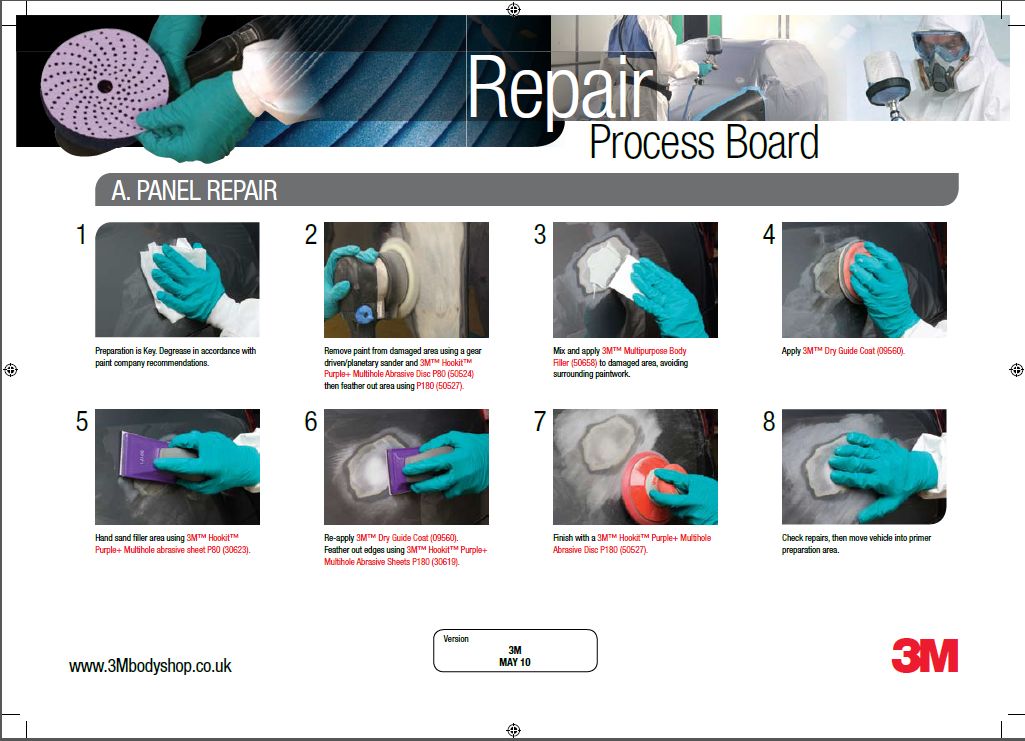
Panel Repair – 3M
|
3M Panel Repair Process using 3M Products. Includes Video. Click the Picture to Download the Step by Step process. |
|
|
|
|
|
|
|
|
|
Reference: http://solutions.3m.co.uk/wps/portal/3M/en_GB/EU-AAD/Home/OurProducts/RepairProcesses/PanelRepair/ |
Norton Best Practice – Body Preparation
| Step-by-step guide to repair and preparation of body panel for painting using Norton abrasive products. |
|
|
| Reference: http://www.nortonautomotive.com |
Norton Best Practice – Basics
| Peter Klutt, host of Dream Car Garage, demonstrates the best practice for body shop basics using Norton products. |
|
|
| Reference: http://www.nortonautomotive.com |
Making Repairs Using GRP (glassfibre Reinforced Plastic)
|
Using polyester resin and glassfibre is simple providing the instructions are followed. Shown below is |
|
The first and most important advice is to make careful and proper preparation of any surfaces |
|
|
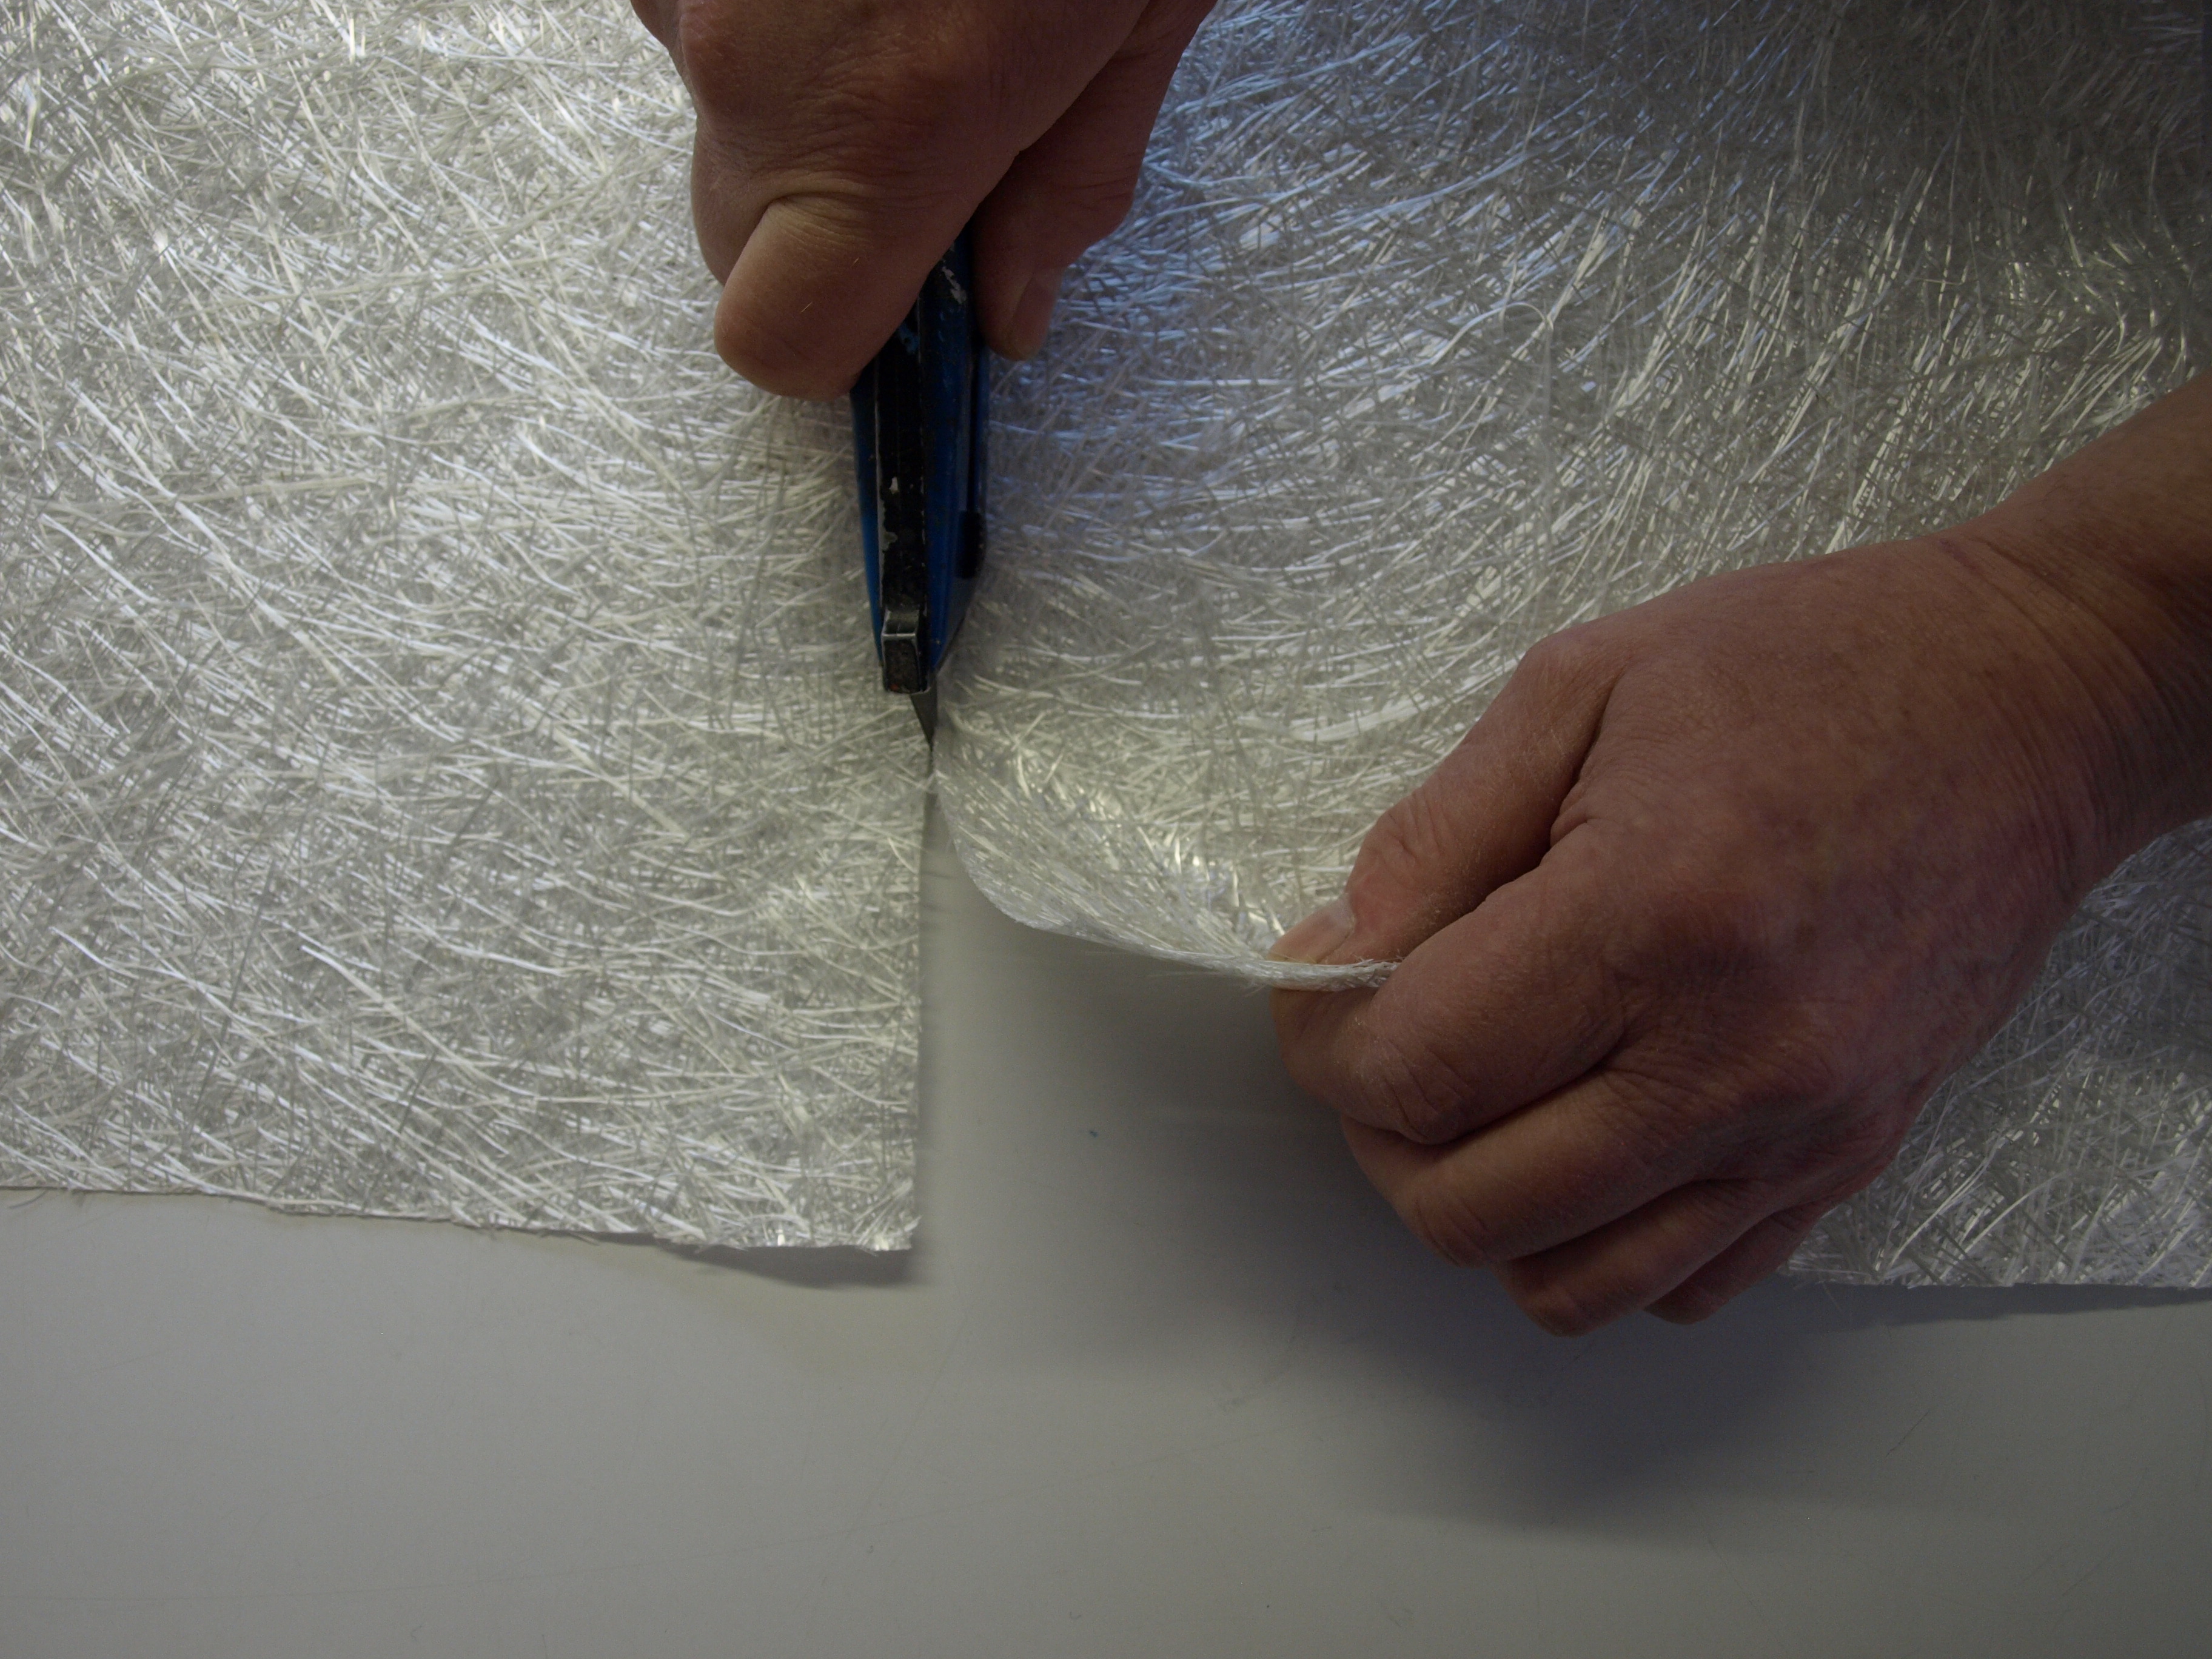
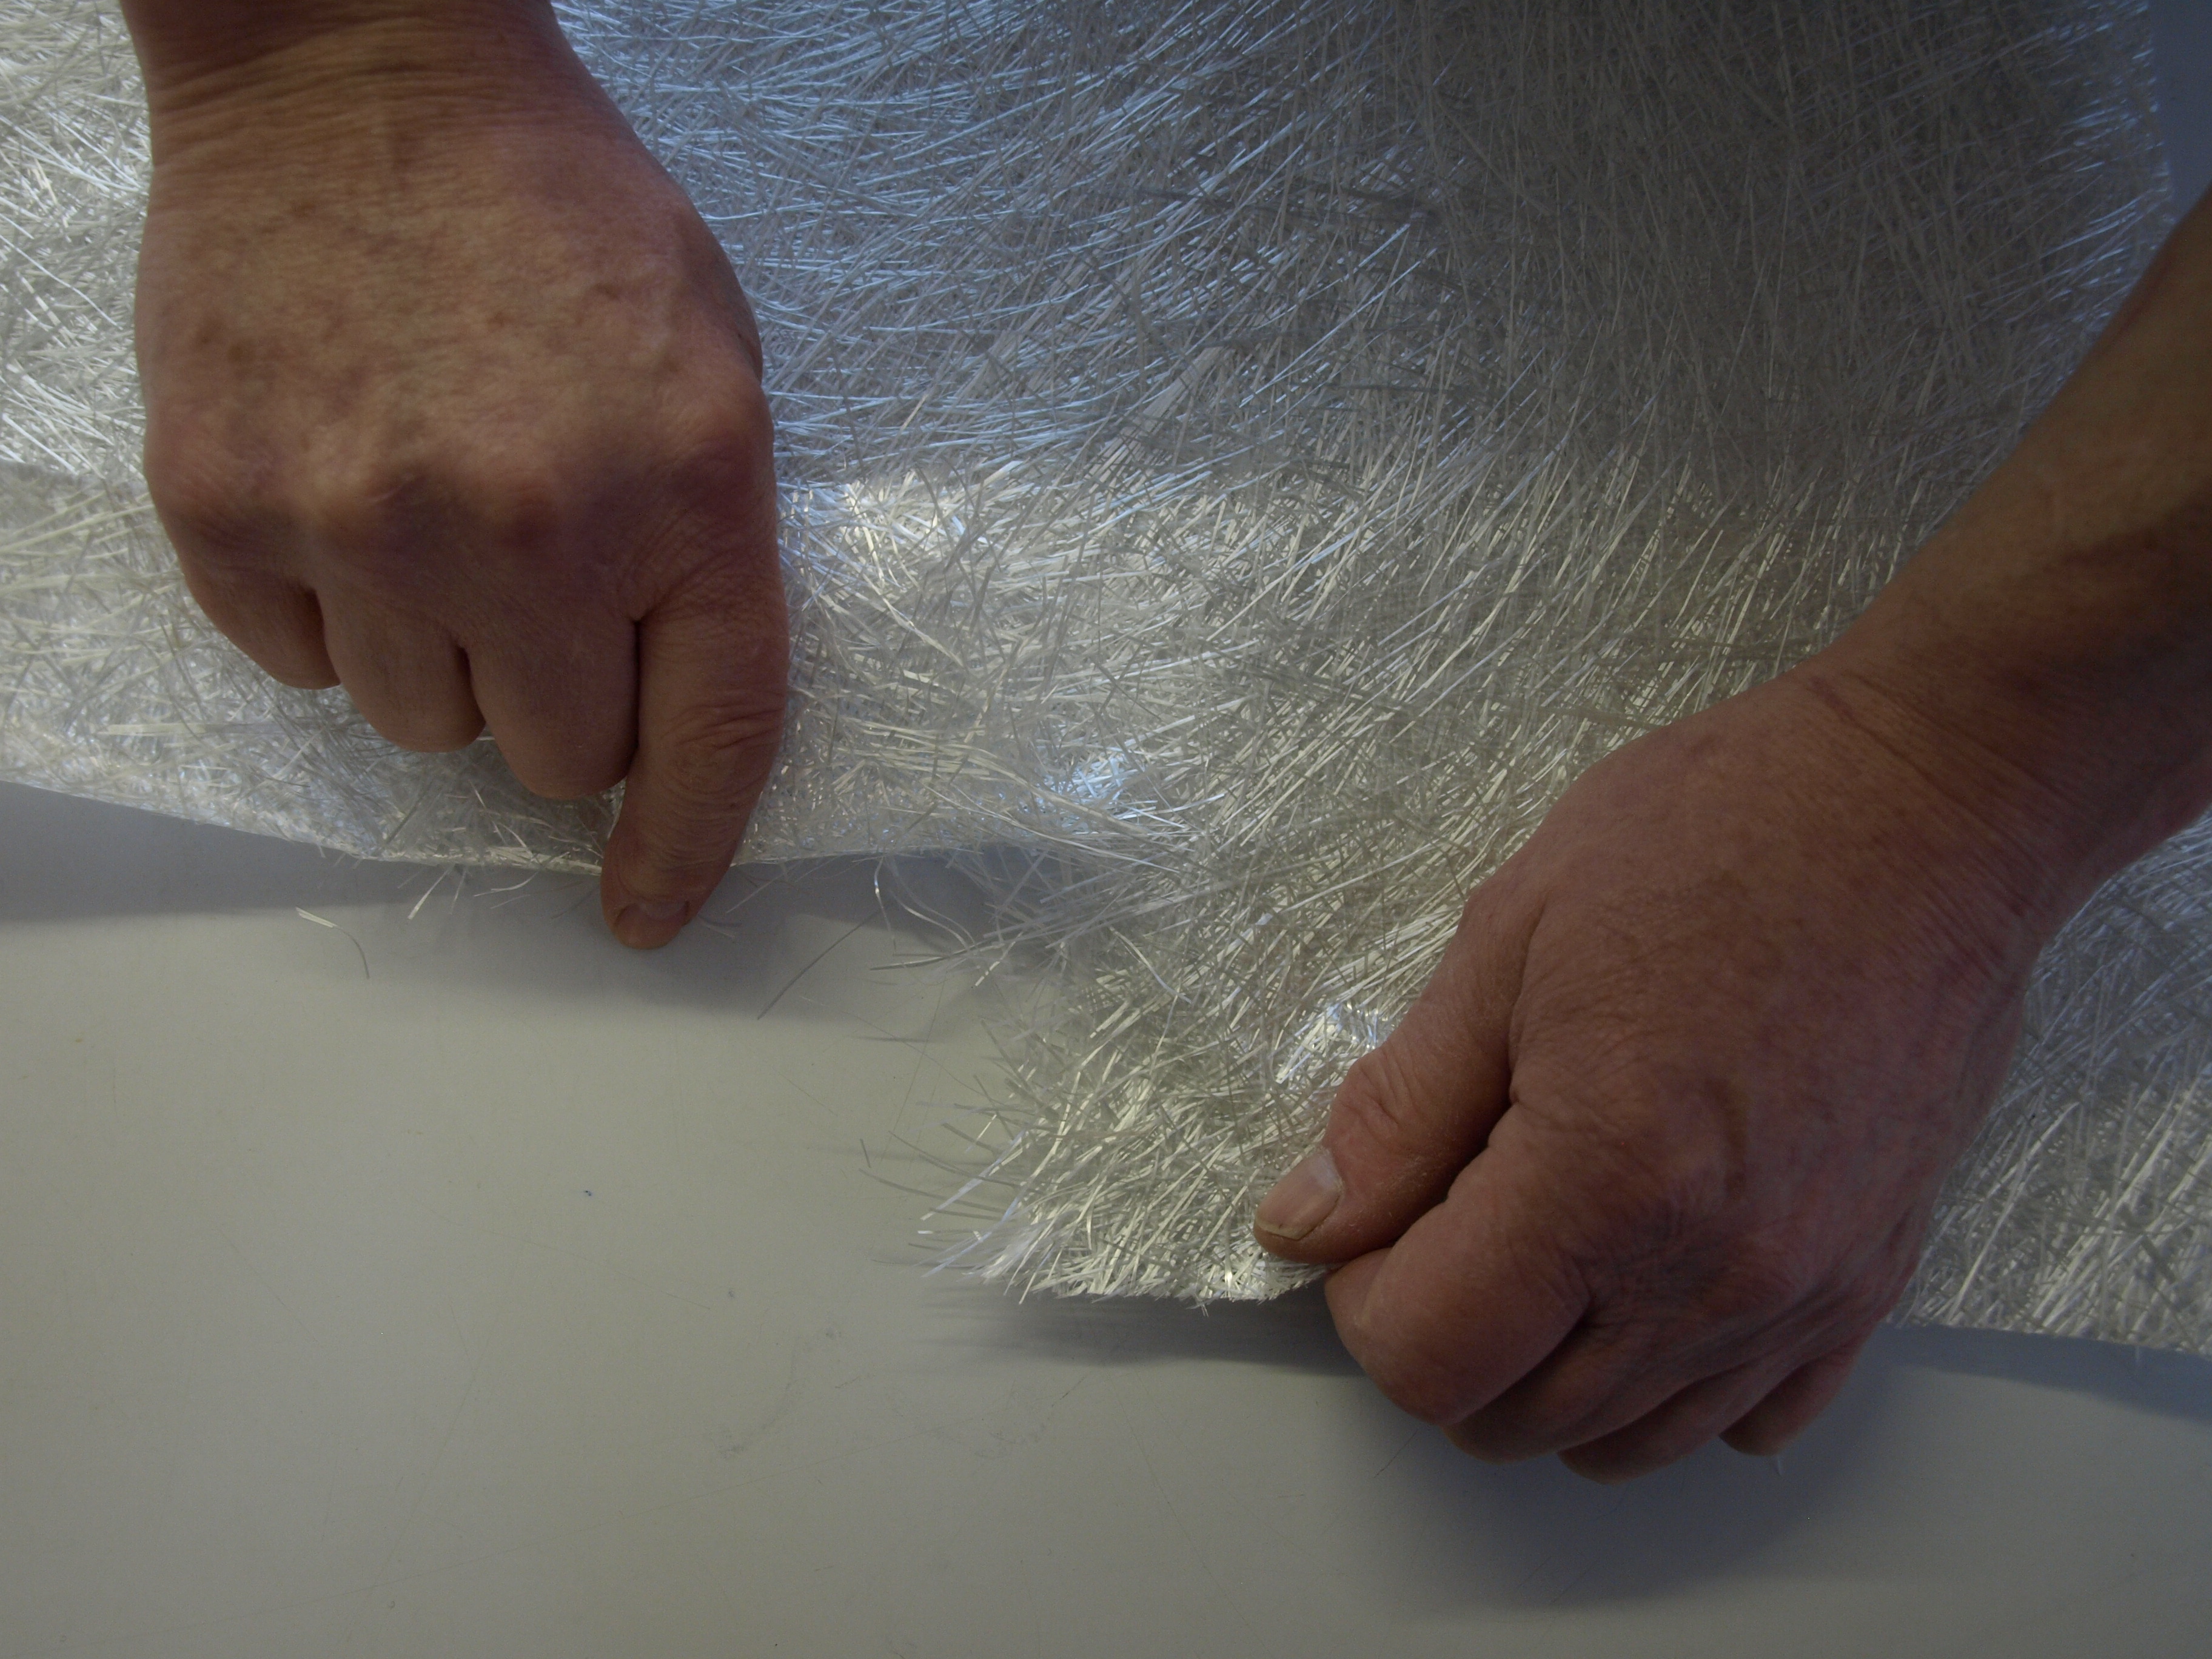
Step 1 |
|
Cut with a sharp knife or scissors the glassfibre into the required shape and size. The mat can also be torn quite easily into shape and is the preferred method since it provides a frayed edge which enables almost undetectable joints to be made when overlapped. However cutting is quite alright provided the edges are frayed out afterwards. lf any gussets or patterns are required to enable the glassfibre to lie more naturally into the shape of the mould then either tear or cut these in at this stage.
|
Step 2 |
|
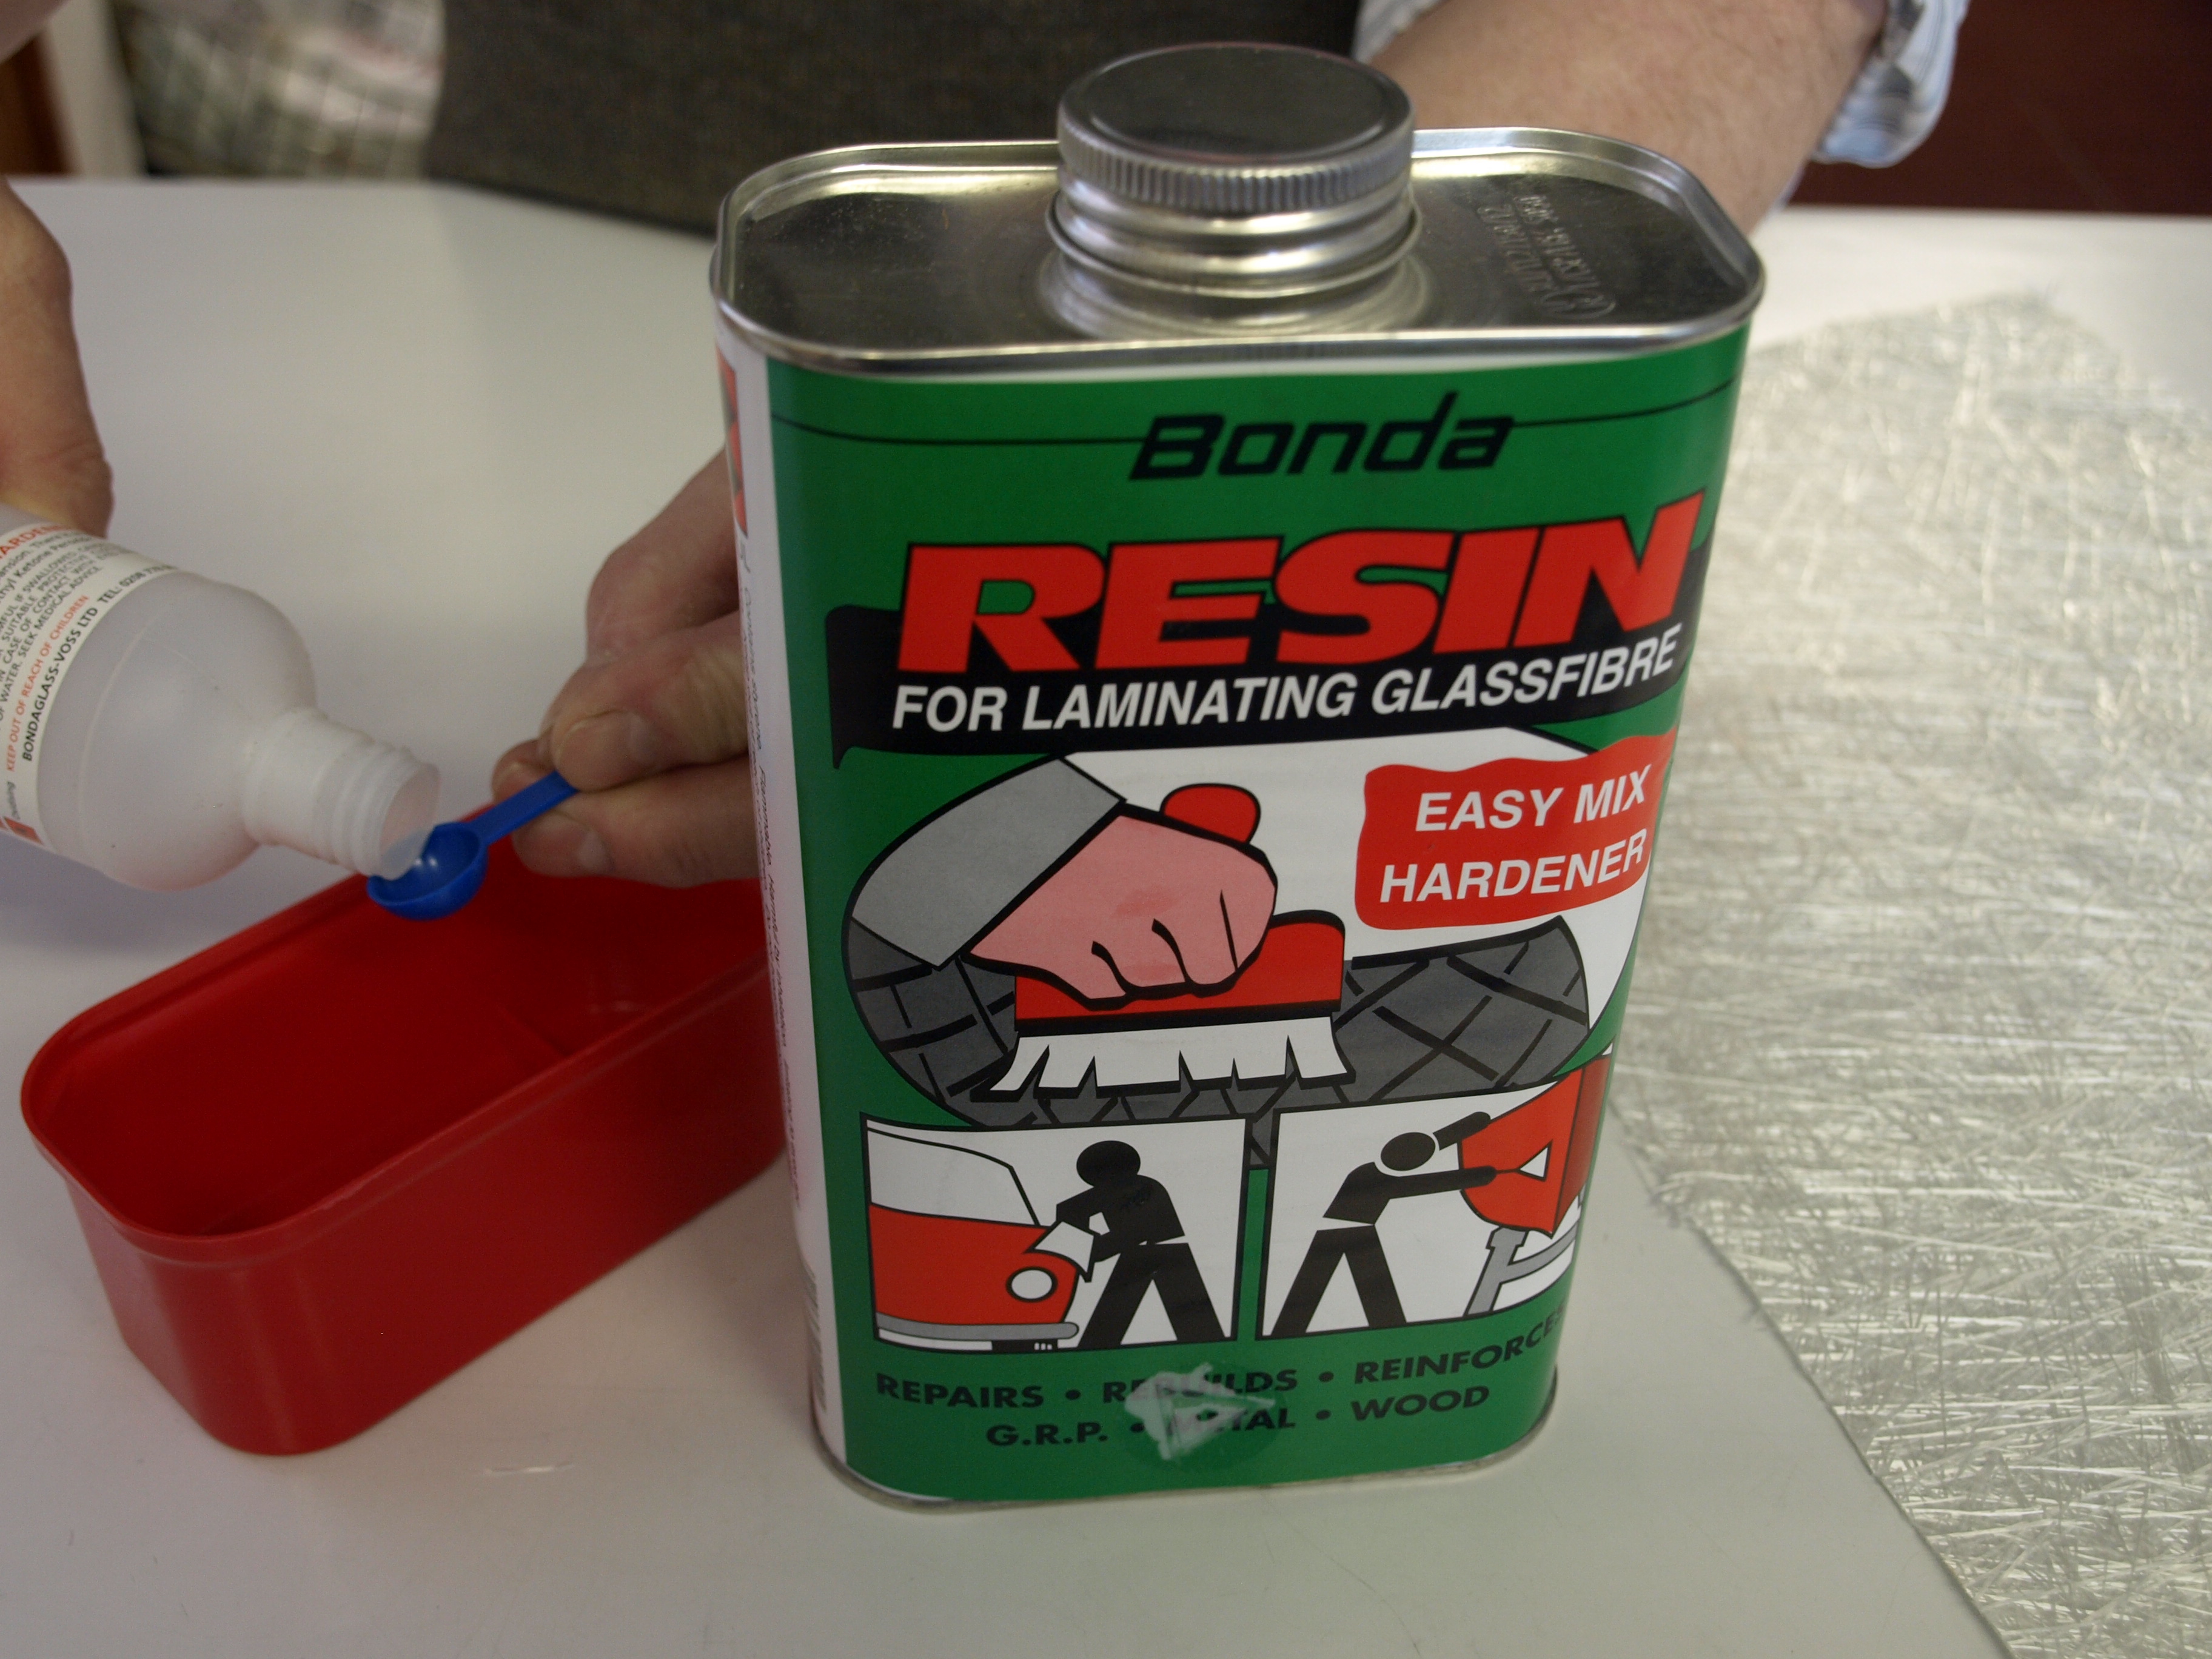
Mix up the required quantity of resin, always measure out the hardener as recommended. A 2% (by weight or volume) addition of hardener at a working temperature of around 15’C will give a pot life of 25-30 minutes, To avoid wastage do not mix up more resin than can be used well within this time. The normal amount of resin required for this pack of glassfibre is shown here.
|
Step 3 |
|
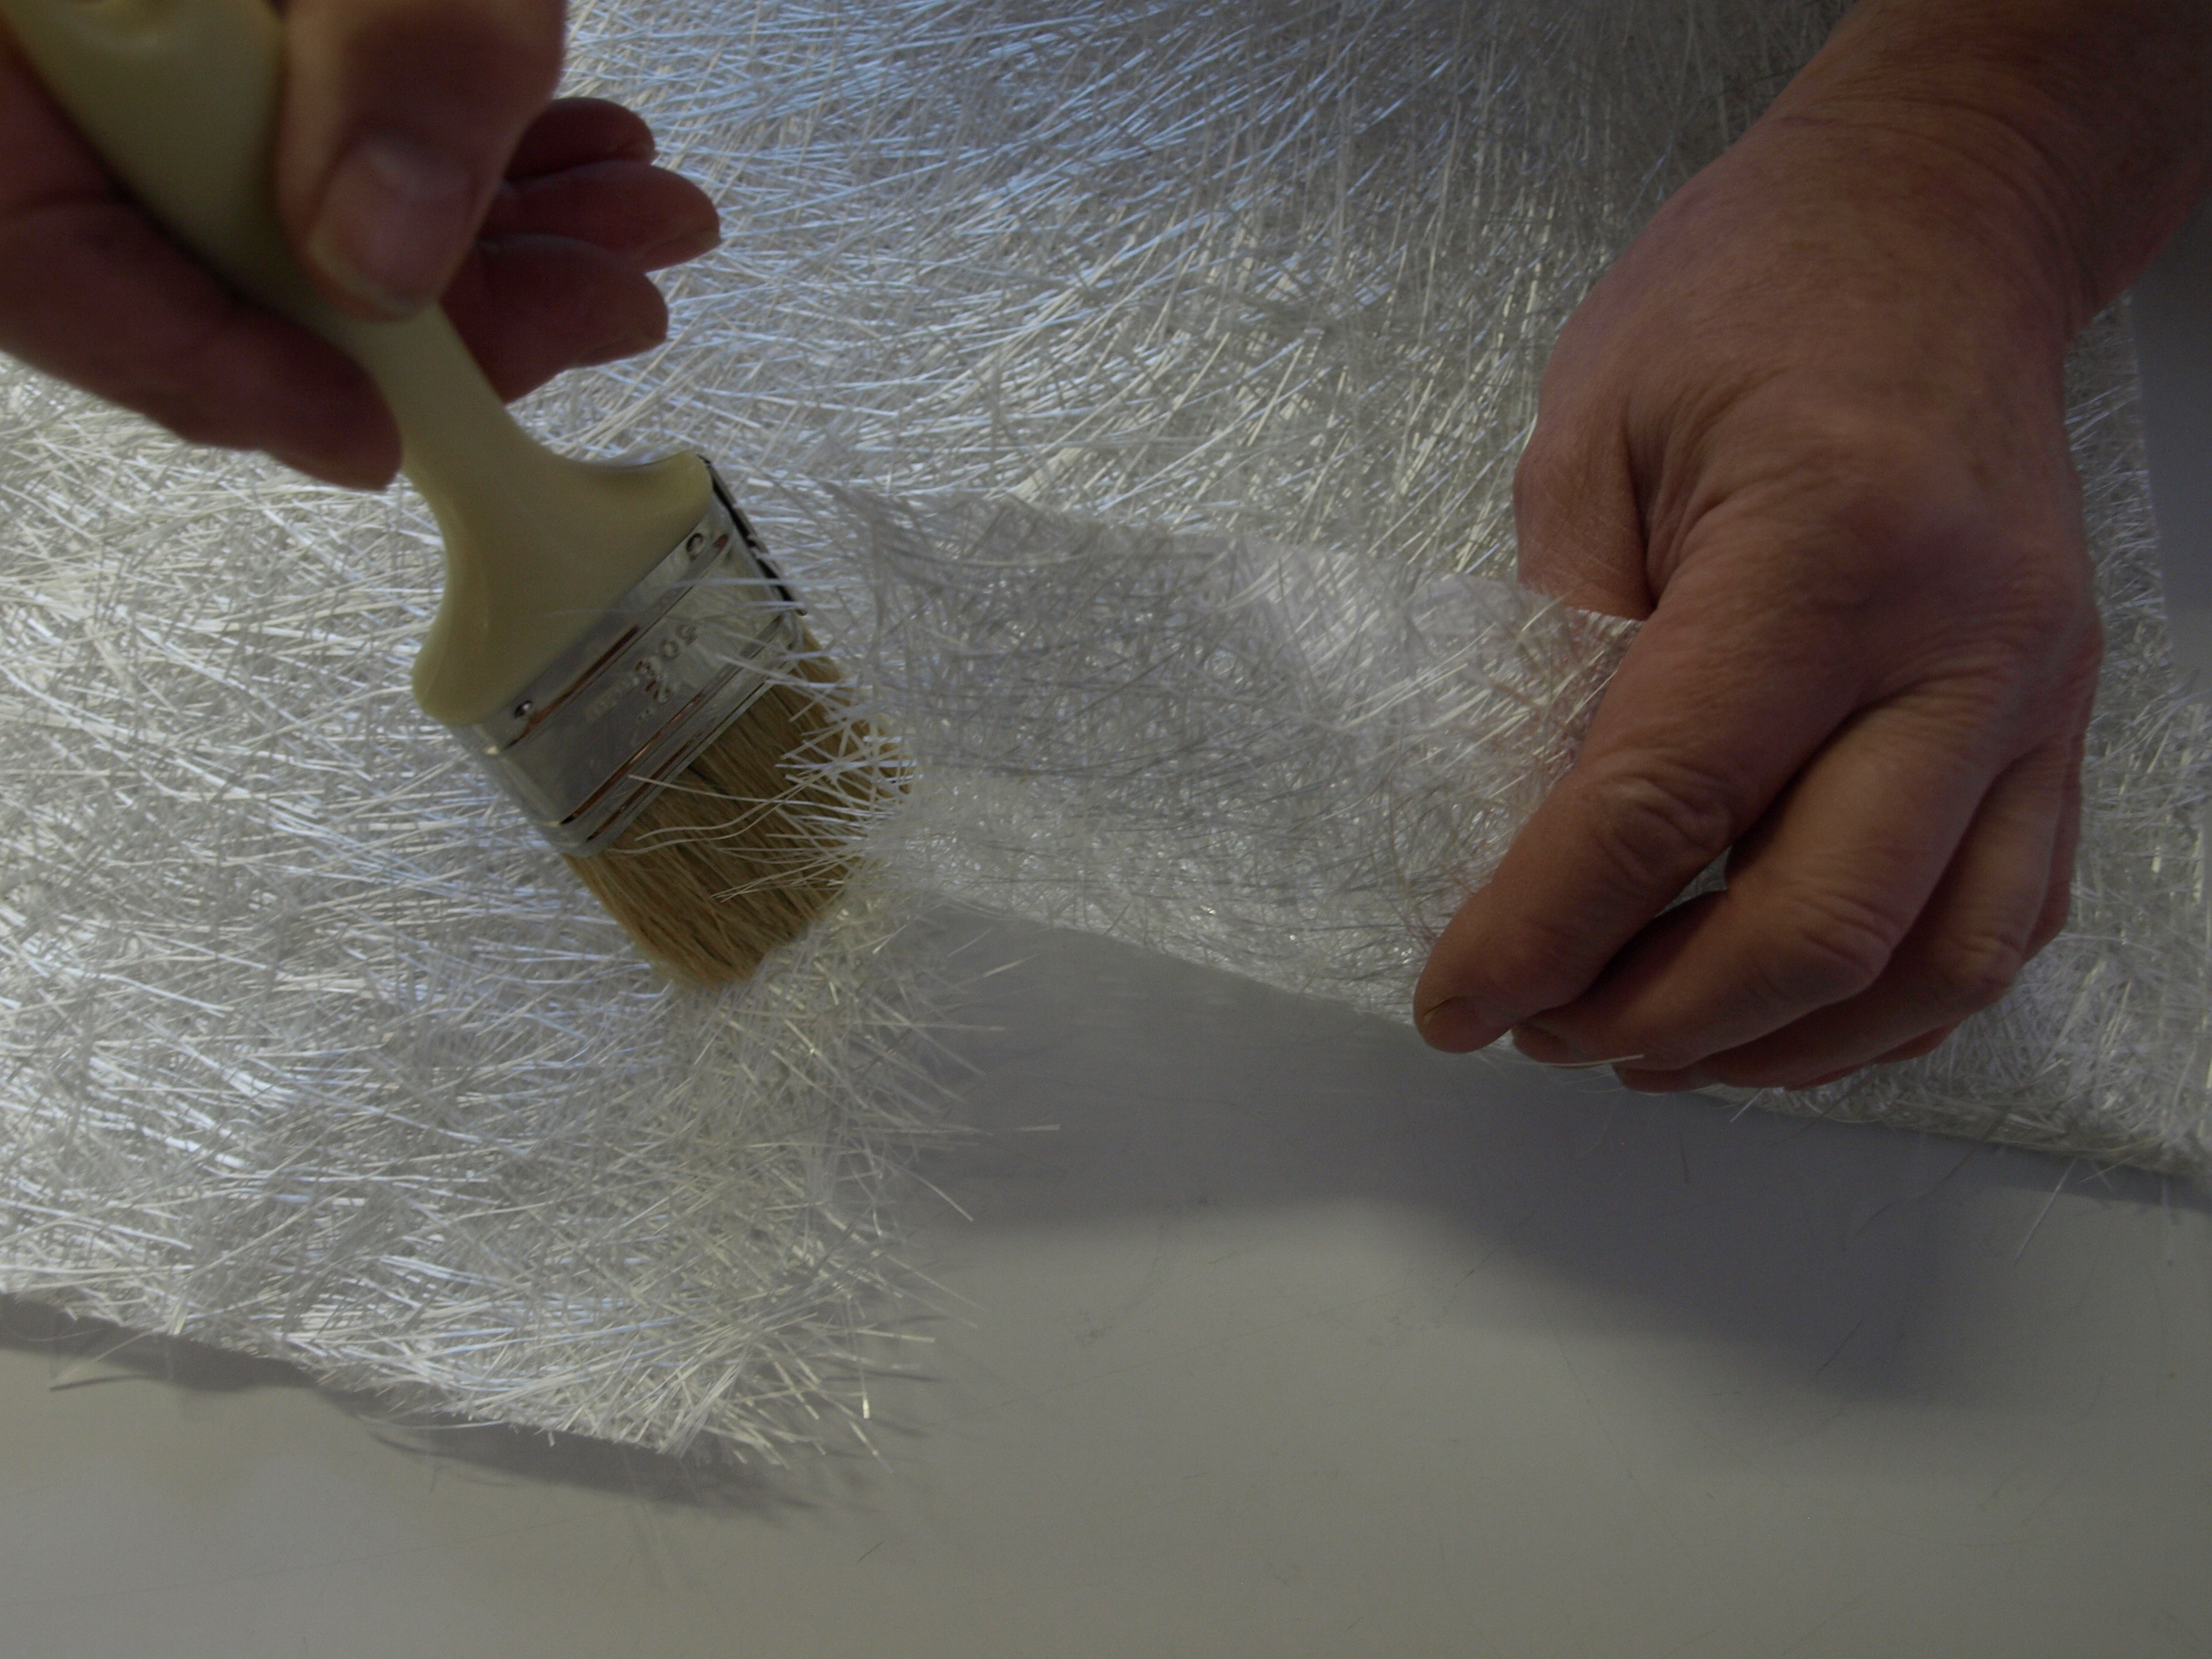
When using gelcoat in a mould it is sensible to reinforce this with a layer of surface tissue. This is not applied at the time of brushing on the gelcoat but immediately before the main laminate of glassfibre and polyester resin. When repairing fractures or holes,and not using a mould, then apply a coat of resin onto the prepared surface and place the glassfibre on top. Using a stippling action with the brush apply more resin until the glassfibre is “wetted out” or saturated and becomes translucent. Glassfibre is more pliant when wetted out and therefore it is good practice to apply resin to the more difficult and complicated shapes and allow the resin 30 secs, or so to dissolve the binder holding the glassfibre together, it will then more easily take up the required shape. Avoid laminating around or into right angles if at all possible.
|
Step 4 |
|
The next layer can then be applied, wet on wet, but remember to avoid unsightly joints by fraying out the edges of the glassfibre mat and overlapping, the join will almost disappear. When applying several layers it is important that each layer is well consolidated with the previous layer so as to exclude laminate the trapped air appears as a whitish blister. For small areas a thorough stippling with a brush is sufficient to ensure a good laminate but for larger areas a metal roller is advised. Chopped strand mat when well stippled provides a fairly smooth surface but to make this even smoother a layer of surface tissue, applied on to the wet last layer of glassfibre will provide an even better surface.
|
Tip |
|
When applying over very large uncomplicated areas e.g. boat hulls, garden pools, use a lambswool roller which considerably speeds the work. |
How to Calculate Quantities |
|
For repairs two weights of glassfibre mat or a cloth can be used as follows:- |
|
Material Weight Layers Thickness Glassfibre Mat 300 grams (1oz) sq/M 3 -3mm Glassfibre Mat 450 grams (1.5 oz) sq/M 3 +3mm 11 Thou Cloth 4 -1mm |
|
Resin Usage |
|
Generally the ratio is 2.5 :1 – resin to glass by weight. For gelcoat allow 50 grams/sq.ft. (550grms/sq.m). Therefore every square metre of 300 gram glassfibre mat uses 750 grams of resin. When repairing downward or vertical surfaces it is advisable to preimpregnate the glassfibre on a flat piece of board, give the metal a coat of catalysed resin and then carefully stipple the patch into position. When applying several patches allow each to become finger tacky or gel before applying the next. Once the resin has hardened remove any high spots, should there be any, with a Surform or course wet and dry paper, skim with Bondafiller, flat back and paint. Once the technique of using glassfibre and polyester resin has been mastered, most rusted and dented bodywork can be repaired using these materials. Rusted doors are most certainly caused by internal rust and therefore it is important that the inside of the door is treated as well as the outside if a lasting repair is to be made. Take care to clean the area as instructed. Using a former, this can be a piece of stiff cardboard or hardboard covered in polythene foil or release agent to cover the hole, make sure it is firmly fixed in position with masking tape and then apply the resin and mat preferably from the inside of the door. lf a repair has to be made from the outside then in order to make it level with the surrounding metal it is necessary to tap the metal around the area to be repaired sufficiently below the level of the bodywork so as to allow for a little more than the thickness of the glassfibre repair. Then apply the glassfibre patch and skim coat with Bondafiller. |
How to restore Headlights (light repair)
| For plastic headlights only. |
|
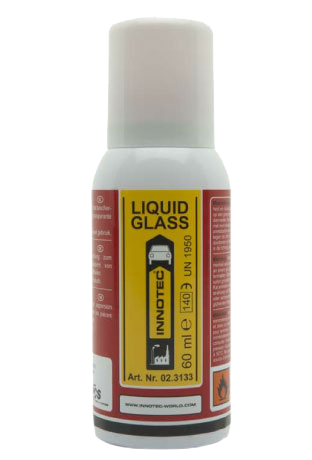
Innotecs Liquid Glass offers a new simple solution to restoring faded headlights. In this tutorial we are going to show you how to restore a faded headlight where there is not too much damage such as deep scratches, cracked plastic. |
 |
|
|
Step 1 |
|
You won’t need to remove the headlight, howevever mask up the surrounding area ensuring any paint work below the lens is completely covered with plastic sheeting.. Leave enough space around the headlight edges for the liquid glass to fully run across the surface of the light. |
Step 2 |
|
Degrease and clean the headlight thoroughly, remove as much grime as possible. |
Step 3 |
|
Using a Ultra Fine Grey Scotch Pad, rub down the headlight in a horizontal motion until the surface is flatted. |
Step 4 |
|
Wipe clean the headlight again. |
Step 5 |
|
Using a Ultra Fine Grey Scotch Pad in a horizontal motion, rub down the headlight until smooth. |
Step 6 |
|
Degrease and clean the surface to prepare for the liquid glass. |
Step 7 |
|
Take the liquid glass , attach the nozzle to the pressure can and check whether the outflow is regular. |
Step 8 |
|
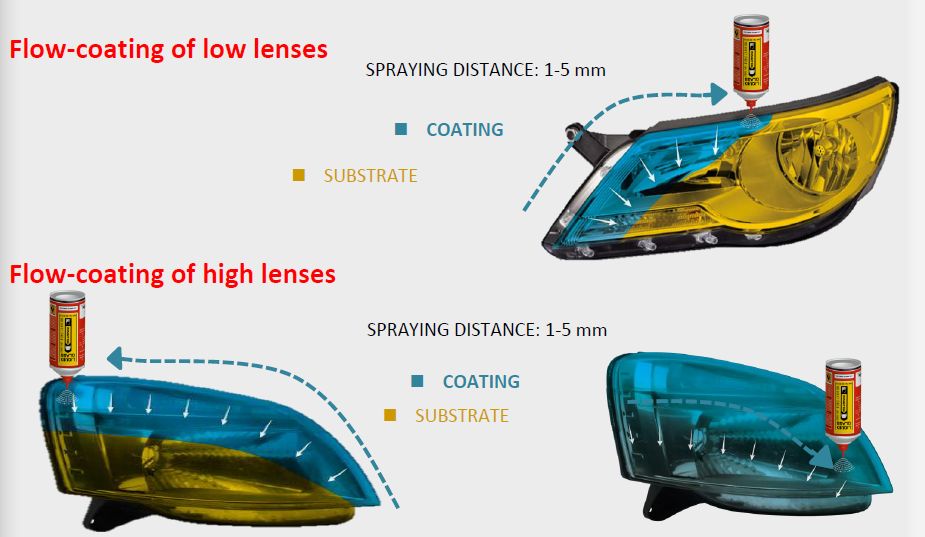
Liquid glass must be applied to the lens using the flow-coat method. This has to be done in one flowing/smooth movement and in one close layer (see picture, application method).
|
Step 9 |
|
Allow the lens to drip dry (if necessary, pat dry the edges with a non-fluffy cloth). |
Step 10 |
|
Allow the applied coating to dry for ±15 minutes at room temperature. |
Step 11 |
|
Stick the included temperature indicating sticker on an even area near lens; it will assure you after the treatment that the required temperature has been reached. |
Step 12 |
|
In order to allow Liquid glass to cure, use a heat source from a distance of at least 60cm, heat for at least 90 minutes. |
|
|
|
Reference: http://www.innotecworld.com/ |